Creating 3D Effects in Embroidery: Techniques for Adding Depth and Texture
Embroidery has long captivated artists and crafters with its delicate lines and vibrant colors, but creating dimension within an embroidery piece elevates it to an entirely new level. Techniques for adding depth and texture not only make a piece visually engaging but also lend it a tactile richness that invites the viewer closer, enticing them to explore the details in every stitch.
In this article, we’ll delve deeply into the methods for creating these effects, from nuanced stitch choices to creative material use, each of which brings your design to life with a sense of realism and artistic sophistication.
Exploring 3D Embroidery: An Introduction to Dimension
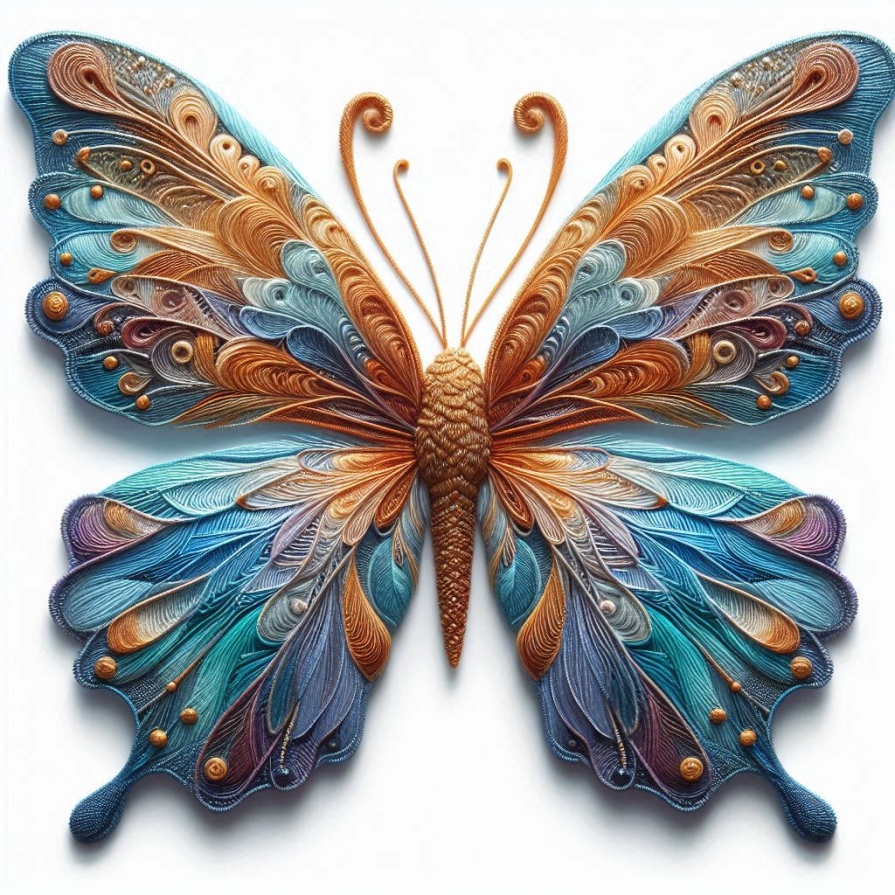
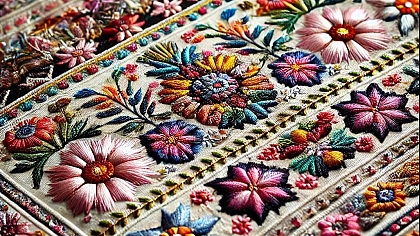
3D embroidery is an art form that relies on manipulating the layers, materials, and stitch techniques within a piece to create height, texture, and shadow. Unlike traditional embroidery, which lays flat, 3D embroidery incorporates elements that rise from the fabric or appear layered. This artful approach evokes everything from a blossom’s delicate petals to the rugged landscape of a mountain range, making the piece feel more dynamic and lifelike. The essence of 3D embroidery lies in the balance between subtle and pronounced dimensional elements, allowing certain parts to stand out while others remain grounded.
Achieving this effect requires both technique and vision. Just as a painter considers the interplay between light and shadow, the embroiderer must account for how various stitch textures and layering interact to create a harmonious piece. The beauty of 3D embroidery is its versatility—it can be bold or subtle, intricate or abstract, depending on the desired outcome.
Layering Techniques for Enhanced Depth
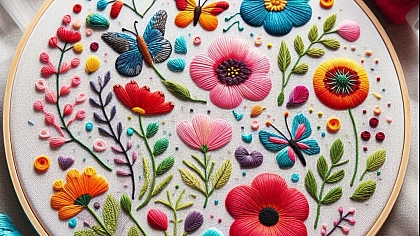
Layering is a fundamental technique for achieving 3D effects, as it allows the embroiderer to mimic the way natural forms unfold in layers. One of the most common applications is in floral designs, where petals are often layered to create the illusion of blossoming. The embroiderer builds each petal separately, sometimes stacking them atop one another or angling them slightly to add a realistic flair. This approach can be applied in other contexts as well, such as layering leaves to recreate the dense foliage of a forest or creating overlapping waves for an ocean scene.
Using a variety of thread weights within these layers also enhances depth. Thicker threads bring the topmost layers forward, while finer threads appear to recede into the background. For instance, in a floral embroidery, a heavier thread for the front petals and a finer one for those in the background allows each element to maintain its unique place within the scene. This layering technique creates an illusion of shadow and light, drawing the viewer’s eye to different parts of the design.
Dimensional Stitching Techniques: Bringing Texture to Life
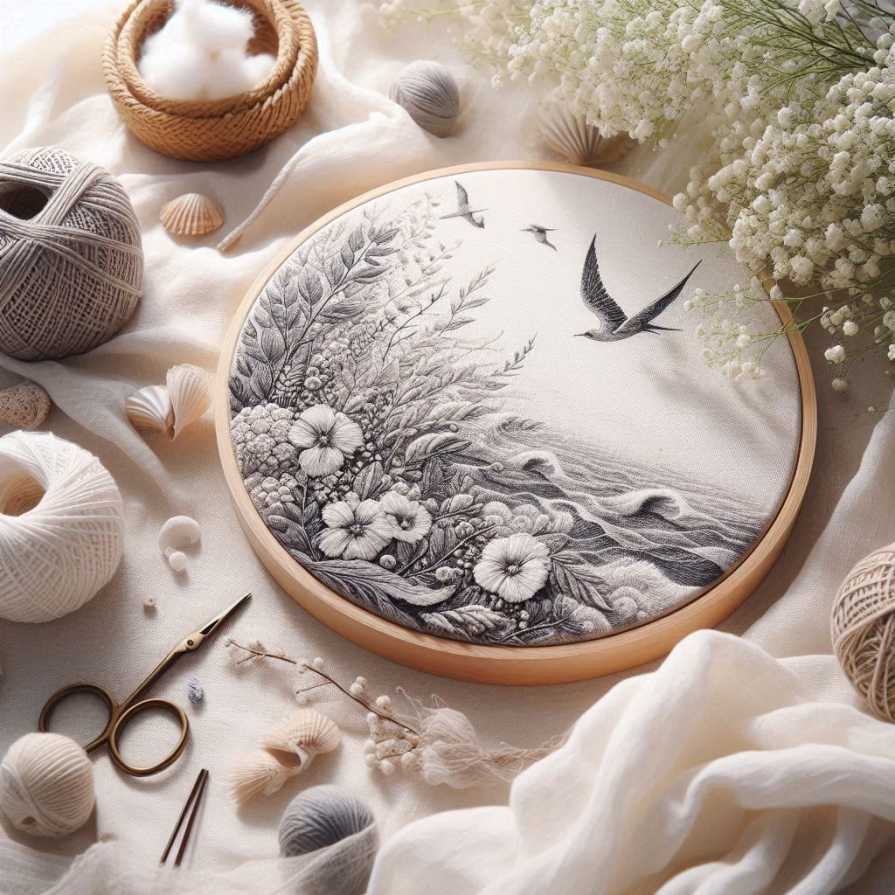
Stitching techniques form the backbone of 3D embroidery, transforming flat designs into textured wonders. Each stitch has its own unique quality, lending various textures and effects to the work. Stitches such as the bullion knot, French knot, and long and short stitches are ideal for creating a range of textures and forms that make a piece stand out.
The bullion knot, known for its raised appearance, is especially useful for creating features like flower buds, animal fur, or even tiny spiraled shapes that add a whimsical element to the design. By varying the length and thickness of these knots, the embroiderer can control the intensity of the texture, adding just the right amount of dimension to specific areas. French knots, similarly, add delightful pops of texture, perfect for adding depth to fields of flowers, stippling, or creating a beaded effect in various designs.
Long and short stitches, on the other hand, are excellent for soft, flowing textures. They’re often used to fill in larger areas and create a gradient effect. By layering these stitches in varying directions, an embroiderer can create the illusion of shadows, perfect for rendering everything from folds in fabric to the subtle contours of a landscape.
Sculptural Techniques: Crafting Embroidered Forms
Sculptural embroidery is a technique that involves creating shapes and forms that stand free from the fabric itself. This approach often incorporates additional materials, such as wire or foam, to maintain structure and shape. For instance, to create a butterfly with wings that stand slightly apart from the fabric, one might use a fine wire along the edge of each wing, allowing them to retain a delicate lift. This sculptural effect brings the embroidery to life, adding an interactive quality as the elements rise from the canvas.
Another popular method in sculptural embroidery is padding, which is used to lift areas within the design. Padding can be achieved using threads, felt, or even foam beneath the top stitches, providing a subtle rise in the fabric. This technique works beautifully in pieces that feature larger shapes, like flower petals or animal forms. It adds not only height but also a sense of realism, as the padded areas mimic the natural curves found in real-life subjects.
Material Selection for Enhanced Texture and Realism

The choice of materials plays an equally vital role in creating 3D effects in embroidery. While traditional embroidery relies on standard cotton or silk threads, experimenting with other fibers and materials can transform the textural quality of your work. Metallic threads, for instance, add a reflective quality that can mimic surfaces like water, glass, or metal, bringing luminosity to the piece. Pairing metallic threads with more matte cottons or silks creates contrast, adding another layer of depth and visual interest.
Incorporating non-thread elements, such as beads, sequins, or even small fabric scraps, adds both texture and dimension. Beads, for example, can emulate dewdrops on leaves, while sequins can mimic the shimmer of fish scales or sunlight glinting off a surface. Carefully placed embellishments help to enhance focal points within the design, bringing attention to specific areas without overwhelming the overall piece.
Shadow and Light: The Art of Contrast in 3D Embroidery
Creating depth in embroidery often relies on the subtle use of shadow and light, much like a painter uses contrast to define form. Choosing thread colors thoughtfully helps achieve this effect. Shadows can be created by selecting threads that are slightly darker than the base color of the design element, while lighter colors on raised areas highlight the form, making it appear more dimensional. Blending and layering these shades carefully gives the illusion of curves, folds, and edges, all of which contribute to a lifelike effect.
Shading within the stitch itself also plays a role in creating the illusion of depth. For example, using long and short stitches in varying shades within a single petal creates a gradient, suggesting a curve or natural fold. When creating textured elements like leaves or fur, this method gives the impression that certain parts are closer or further from the viewer. By applying shading techniques, the embroiderer can control the viewer's perception of distance and form within the embroidery.
Exploring Mixed Media Embroidery for Extra Dimension
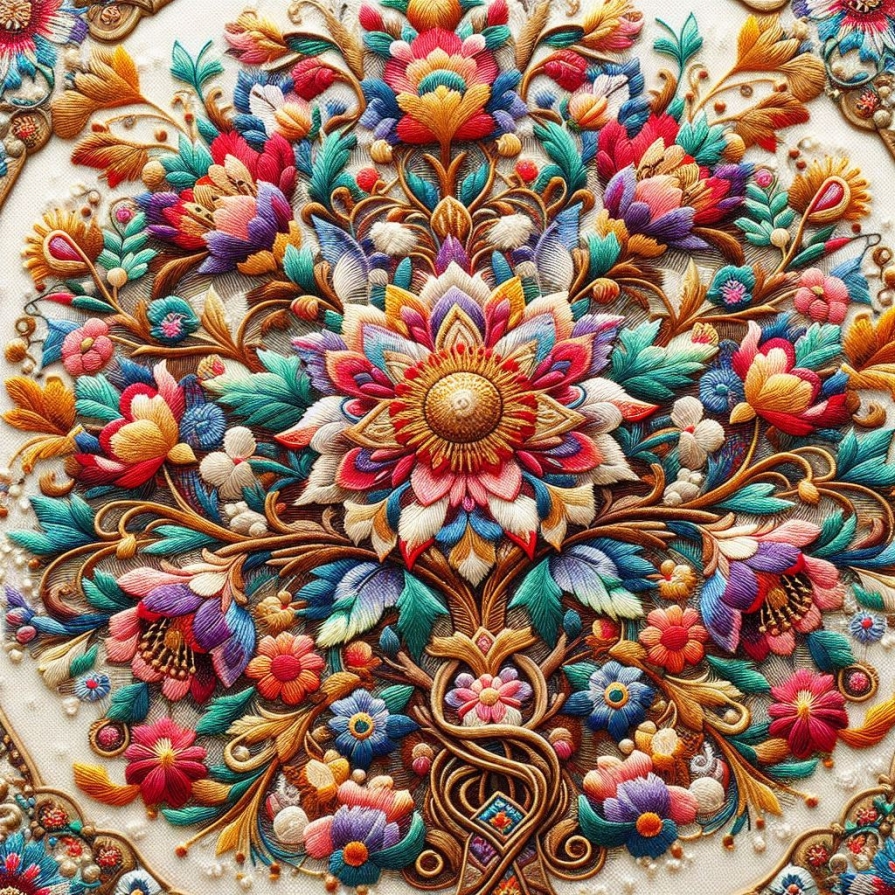
Mixed media embroidery takes 3D effects a step further by combining various materials and techniques to achieve a truly dynamic effect. Incorporating textiles like lace, tulle, or velvet can add both softness and height to your work. For instance, delicate lace stitched onto fabric can create the illusion of gossamer wings or fine mesh, while tulle can add airy layers to floral designs.
Using non-traditional items such as wire, fabric paint, or even small charms opens the door to limitless creativity. Wire, as mentioned earlier, provides structural support but can also be used creatively to outline or accentuate areas within the design. Fabric paint is another tool that can add color or texture in ways threads alone cannot. It’s particularly effective when adding details like veins on leaves, fur texture on animals, or subtle shading to larger forms.
The Finishing Touches: Ensuring Your 3D Embroidery Stays Intact
Creating 3D embroidery requires careful attention to durability, especially when working with layered elements or additional materials. To ensure longevity, it’s essential to secure any raised elements or mixed media components firmly without compromising the design’s aesthetic. Reinforcing edges, adding a backing, or even applying a light sealant over specific areas can help keep everything in place.
Choosing a suitable fabric base also plays a role in ensuring that the embroidery retains its shape and dimension. Heavier fabrics like canvas or denim provide a strong foundation, especially for pieces that feature larger sculptural elements. For lighter fabrics, stabilizers can offer additional support without adding bulk, allowing the design to remain as intended.
Crafting Embroidered Art with Depth and Texture
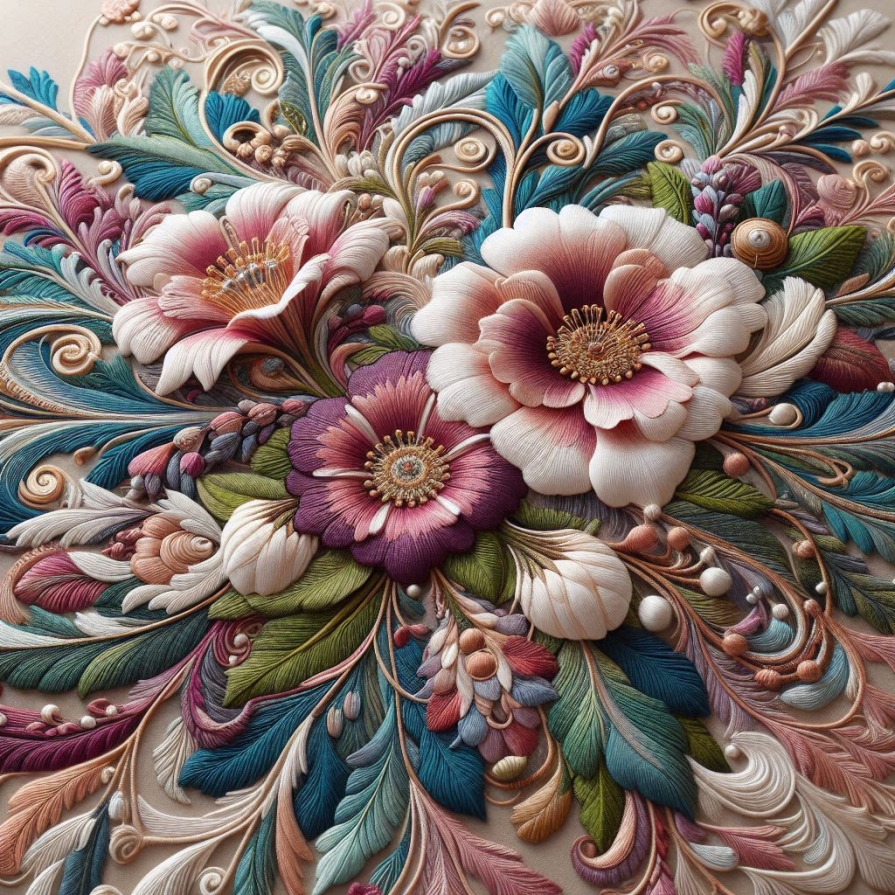
Creating 3D effects in embroidery is a rewarding journey that takes skill, creativity, and patience. Each piece becomes a testament to the artistry and technique of the embroiderer, blending colors, materials, and textures in an intricate dance. With each stitch, layer, and added element, the work transforms from a flat design into a vibrant, tangible form.
Mastering these techniques opens a world of possibilities, allowing for unique expressions in every piece. Whether you’re bringing a garden to life, capturing the essence of a landscape, or simply experimenting with form, the ability to add depth and texture to your embroidery will forever change the way you view this craft. Embroidery becomes more than just stitches on fabric—it becomes a three-dimensional art, a landscape, a sculpture.

