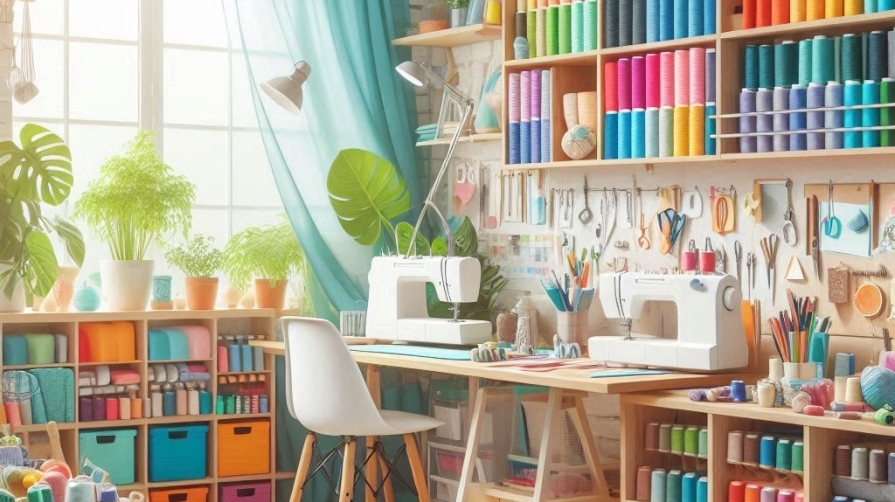
Mastering the Basics: A Beginner's Guide to Sewing
Sewing is an art that blends creativity with practicality, enabling you to transform fabric into functional and beautiful items. Whether you're aiming to tailor your wardrobe, create unique gifts, or simply explore a new hobby, mastering the basics of sewing is an essential first step. This guide will walk you through the fundamentals, ensuring you have the knowledge and confidence to embark on your sewing journey.
Understanding Your Sewing Machine

The sewing machine is the cornerstone of modern sewing, and understanding its components and functions is crucial. At first glance, a sewing machine might appear intimidating with its numerous parts and knobs, but breaking it down into its basic elements makes it more approachable.
The Anatomy of a Sewing Machine
Begin by familiarizing yourself with the main parts of your sewing machine: the needle, presser foot, feed dogs, bobbin, and tension control. The needle is the workhorse of the machine, piercing the fabric to form stitches. The presser foot holds the fabric in place as it moves through the machine, while the feed dogs beneath the fabric guide it forward with each stitch. The bobbin, located in the lower part of the machine, supplies the thread that interlocks with the needle thread to create a stitch. Tension control adjusts the tightness of the thread, ensuring balanced stitches.
Threading Your Machine
Threading your sewing machine correctly is essential for smooth sewing. Start by winding the bobbin with thread. Place the spool of thread on the spool pin, guide the thread through the machine's threading path, and wind it onto the bobbin. Once the bobbin is ready, insert it into the bobbin case, making sure the thread unwinds in the correct direction.
Next, thread the upper part of the machine. Follow the threading path indicated on your machine, passing the thread through the tension discs and the take-up lever before threading the needle. Pull both the upper and bobbin threads under the presser foot and toward the back of the machine.
Choosing the Right Fabric
The fabric you choose significantly impacts your sewing projects. Different fabrics have unique characteristics, and selecting the appropriate one for your project ensures better results.
Natural vs. Synthetic Fabrics
Natural fabrics, such as cotton, linen, and wool, are derived from plants or animals. They are breathable and comfortable, making them ideal for clothing. Cotton, for example, is versatile and easy to sew, making it a great choice for beginners. Linen, while slightly more challenging to work with due to its tendency to wrinkle, is perfect for summer garments. Wool is warm and suitable for winter clothing but requires careful handling to avoid stretching.
Synthetic fabrics, like polyester, nylon, and spandex, are man-made from chemical processes. They are durable, often less expensive, and come in a variety of textures. Polyester is commonly used for garments and home décor due to its durability and wrinkle resistance. Nylon is lightweight and strong, making it suitable for activewear. Spandex offers excellent stretch, ideal for form-fitting clothing.
Woven vs. Knit Fabrics
Woven fabrics are made by interlacing threads at right angles, creating a stable fabric with minimal stretch. Examples include denim, chambray, and quilting cotton. These fabrics are easy to cut and sew, making them ideal for structured garments and quilting projects.
Knit fabrics are created by looping threads together, giving them stretch and flexibility. Common knit fabrics include jersey, interlock, and rib knit. These fabrics are comfortable to wear and move with the body, making them suitable for t-shirts, leggings, and casual wear. Sewing with knits requires special techniques, such as using a stretch stitch or a serger, to accommodate the fabric's stretch.
Essential Sewing Tools
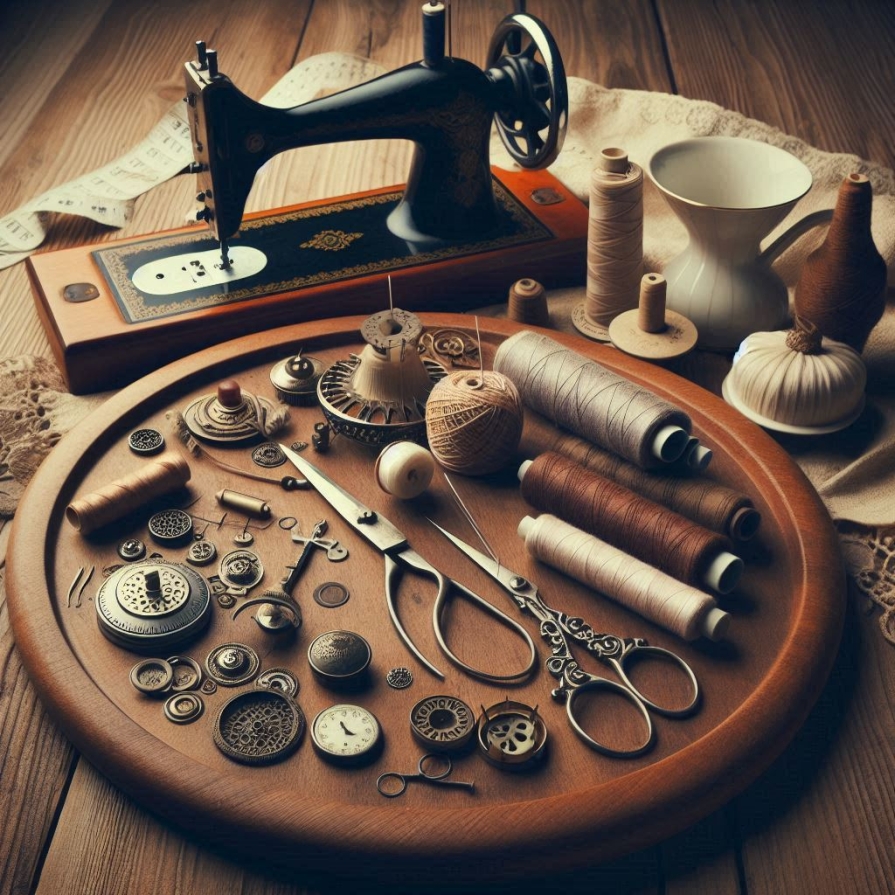
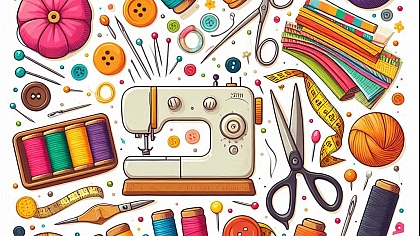
Having the right tools makes sewing more efficient and enjoyable. While you don't need an extensive collection to start, certain essentials are necessary for most projects.
Cutting Tools
Good-quality cutting tools are vital for accurate and clean cuts. Fabric scissors are specifically designed for cutting fabric and should be kept sharp. Never use them on paper or other materials to maintain their sharpness. Rotary cutters, paired with a self-healing cutting mat, are excellent for cutting straight lines and curves, especially for quilting projects.
Measuring Tools
Accurate measurements ensure your projects fit correctly and look professional. A measuring tape is flexible and ideal for taking body measurements and measuring curved edges. A clear acrylic ruler is useful for cutting straight lines and measuring small increments. Seam gauges, with their adjustable markers, help in measuring and marking hems, seam allowances, and other small distances.
Marking Tools
Marking tools allow you to transfer pattern markings and design elements onto your fabric. Tailor's chalk, fabric pencils, and water-soluble markers are popular choices. Test your marking tool on a scrap piece of fabric to ensure it can be easily removed and won't damage the material.
Pinning and Basting Tools
Pins and basting tools hold fabric layers together temporarily, ensuring accuracy during sewing. Glass-head pins are easy to see and can be ironed over without melting. Clips are an alternative to pins, especially for thick or delicate fabrics. Hand-basting with needle and thread is useful for precision sewing and can be removed easily once the permanent stitches are in place.
Mastering Basic Stitches
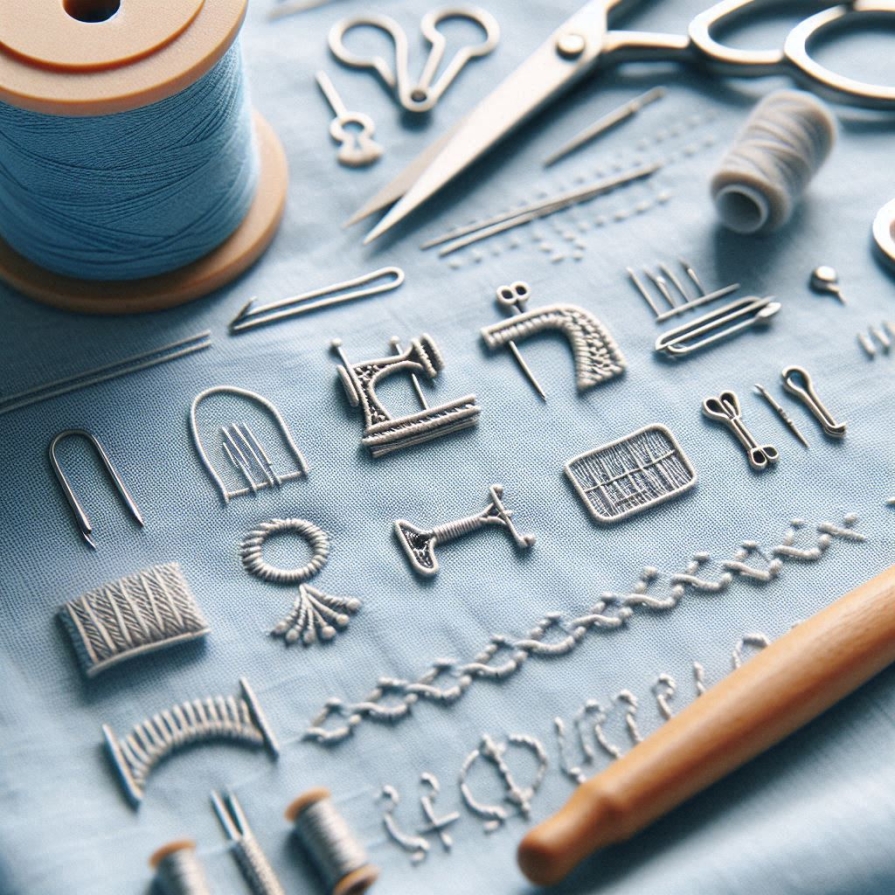
Understanding and practicing basic stitches lays the foundation for more complex sewing techniques. Start with straight stitches, zigzag stitches, and backstitches, which are essential for most projects.
Straight Stitch
The straight stitch is the most fundamental and widely used stitch in sewing. Set your machine to a medium stitch length (about 2.5mm). This stitch is perfect for seams, topstitching, and edge stitching. Practice sewing straight lines on scrap fabric, ensuring even stitch length and consistent seam allowances.
Zigzag Stitch
The zigzag stitch is versatile and used for finishing raw edges, sewing stretchy fabrics, and creating decorative elements. Adjust the stitch width and length according to your project's needs. A narrow zigzag is ideal for securing seams on knit fabrics, while a wider zigzag can be used for appliqué or decorative stitching.
Backstitch
The backstitch is essential for reinforcing seams, especially at the beginning and end of a seam. To create a backstitch, sew a few stitches forward, then reverse and sew a few stitches backward before continuing forward again. This locks the stitches in place, preventing them from unraveling.
Reading and Using Patterns
Patterns are templates that guide you in cutting and sewing fabric pieces to create a specific garment or item. Understanding how to read and use patterns is crucial for successful sewing projects.
Pattern Pieces
Patterns typically consist of multiple pieces that you need to cut out and assemble. Each piece is labeled with its name and provides information on how many pieces to cut from the fabric. Pay attention to markings such as grainlines, notches, and darts. Grainlines indicate the direction the pattern piece should be placed on the fabric, aligning with the fabric's grain for proper drape. Notches help match corresponding pieces, ensuring accurate assembly. Darts add shape to the garment, usually at the bust or waist.
Cutting Fabric
Lay your fabric on a flat surface, folding it as indicated in the pattern instructions. Pin the pattern pieces to the fabric, ensuring the grainline markings are aligned with the fabric's grain. Use sharp fabric scissors or a rotary cutter to cut out the pieces accurately. Transfer any pattern markings to the fabric using your marking tool.
Sewing Seams
Follow the pattern instructions for assembling the pieces. Start by pinning the pieces together, matching notches and markings. Sew the seams with the recommended seam allowance, usually 5/8 inch (1.5 cm) for garment patterns. Press the seams open or to one side as indicated in the instructions, using an iron to achieve crisp, professional results.
Finishing Techniques
Finishing techniques give your projects a polished look and prevent raw edges from fraying. Learning these techniques enhances the durability and appearance of your creations.
Seam Finishes
Seam finishes secure the raw edges of your seams, preventing them from unraveling. The most common seam finishes include zigzag stitching, serging, and French seams. A zigzag stitch along the raw edge is quick and effective for most fabrics. A serger, if available, trims and overcasts the edges simultaneously, creating a neat finish. French seams encase the raw edges within the seam itself, providing a clean and professional look, especially for lightweight and sheer fabrics.
Hems
Hems finish the edges of garments, curtains, and other items, adding a neat and professional appearance. The most common hem techniques include the double-fold hem, blind hem, and rolled hem. The double-fold hem involves folding the edge of the fabric twice and stitching it in place, suitable for most fabrics. A blind hem creates an almost invisible finish, ideal for dress pants and skirts. A rolled hem is a narrow hem used on lightweight fabrics, often seen on scarves and delicate garments.
Pressing
Pressing is a crucial step in sewing, ensuring sharp edges and smooth seams. Use an iron to press your seams and hems as you sew. Pressing involves lifting and lowering the iron rather than sliding it, which can distort the fabric. Use a pressing cloth to protect delicate fabrics and prevent shiny marks.
Troubleshooting Common Issues
Even experienced sewists encounter challenges. Knowing how to troubleshoot common sewing issues helps you solve problems quickly and continue with your projects smoothly.
Tension Problems
Uneven stitches, puckering, and thread breakage often result from incorrect tension settings. Check your machine's manual for recommended tension settings and adjust the upper thread tension dial accordingly. Ensure the bobbin is correctly inserted and threaded. Test the tension on a scrap piece of fabric, making small adjustments until the stitches are balanced.
Skipped Stitches
Skipped stitches can occur if the needle is dull, bent, or not correctly inserted. Replace the needle with a new one
appropriate for your fabric type. Ensure the needle is inserted all the way into the needle clamp and facing the correct direction. Check the threading of your machine, making sure the thread is properly seated in the tension discs and take-up lever.
Fabric Puckering
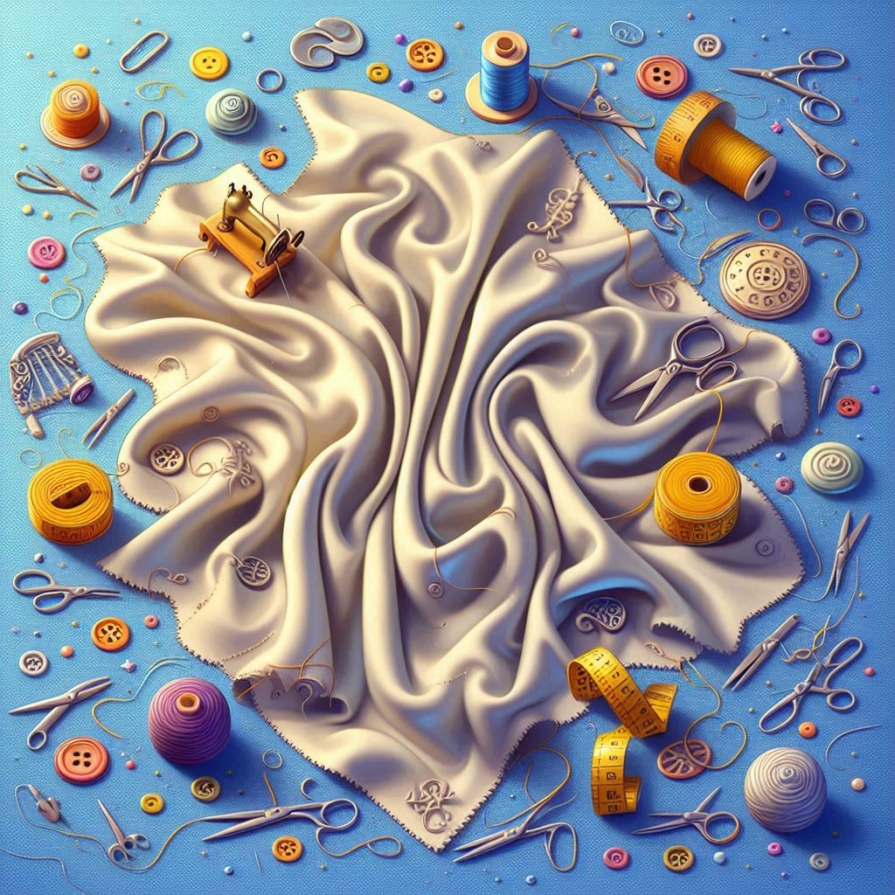
Fabric puckering happens when the fabric is pulled too tightly during sewing. Ensure the fabric is feeding smoothly through the machine without being stretched. Adjust the presser foot pressure if your machine allows it. Use a suitable needle and thread for your fabric type. Lightweight fabrics may require a finer needle and lighter thread.
Building Your Skills
As you become comfortable with the basics, continue building your skills by exploring new techniques and challenging projects.
Advanced Stitches
Expand your repertoire with advanced stitches such as the overlock stitch, buttonhole stitch, and decorative stitches. An overlock stitch, often created with a serger, finishes edges and sews seams simultaneously. The buttonhole stitch creates neat and durable buttonholes. Decorative stitches add flair to your projects, allowing for creative expression.
Pattern Adjustments
Learn to adjust patterns for a better fit and personalized style. Common adjustments include lengthening or shortening pattern pieces, altering the bust or waist, and modifying the neckline. Understanding how to make these adjustments ensures your garments fit perfectly and suit your preferences.
Experimenting with Fabrics
Experiment with different fabrics to expand your sewing skills and creativity. Try working with challenging materials such as silk, velvet, or leather. Each fabric presents unique characteristics and challenges, enhancing your understanding and versatility as a sewist.
Mastering the basics of sewing opens up a world of creative possibilities. By understanding your sewing machine, choosing the right fabrics, using essential tools, practicing basic stitches, reading patterns, and applying finishing techniques, you lay a solid foundation for successful sewing projects. Troubleshooting common issues and continuously building your skills further enhances your proficiency and enjoyment of this rewarding craft. Embrace the journey, experiment with new techniques, and soon you'll be creating beautiful, handmade items with confidence and pride.

