Understanding Sewing Patterns: Reading and Adjusting for Fit
Sewing is a craft that blends creativity with precision, and a key element of successful sewing lies in understanding patterns. These patterns serve as the blueprints for creating garments, guiding you from raw fabric to a finished piece that fits well and flatters your form. Whether you’re a beginner or an experienced seamstress, learning to read and adjust sewing patterns is crucial. This knowledge enables you to create garments that not only fit your body but also reflect your personal style.
The Basics of a Sewing Pattern
Before you start cutting into fabric, it’s essential to familiarize yourself with the basic components of a sewing pattern. A typical sewing pattern comes with three main elements: the pattern envelope, the pattern pieces, and the instruction sheet.
The pattern envelope is your first introduction to the pattern. On the front, you’ll find the pattern number, illustrations or photos of the garment options, and the size range. The back of the envelope provides valuable information about fabric requirements, suggested fabrics, notions, and the finished garment measurements.
Inside the envelope, you’ll find the pattern pieces, which are usually printed on thin tissue paper. These pieces are the templates you’ll use to cut your fabric and are marked with various symbols and lines that help guide the construction process. The instruction sheet offers step-by-step directions for assembling the garment, along with explanations of the symbols and markings on the pattern pieces.
Interpreting Pattern Symbols and Markings
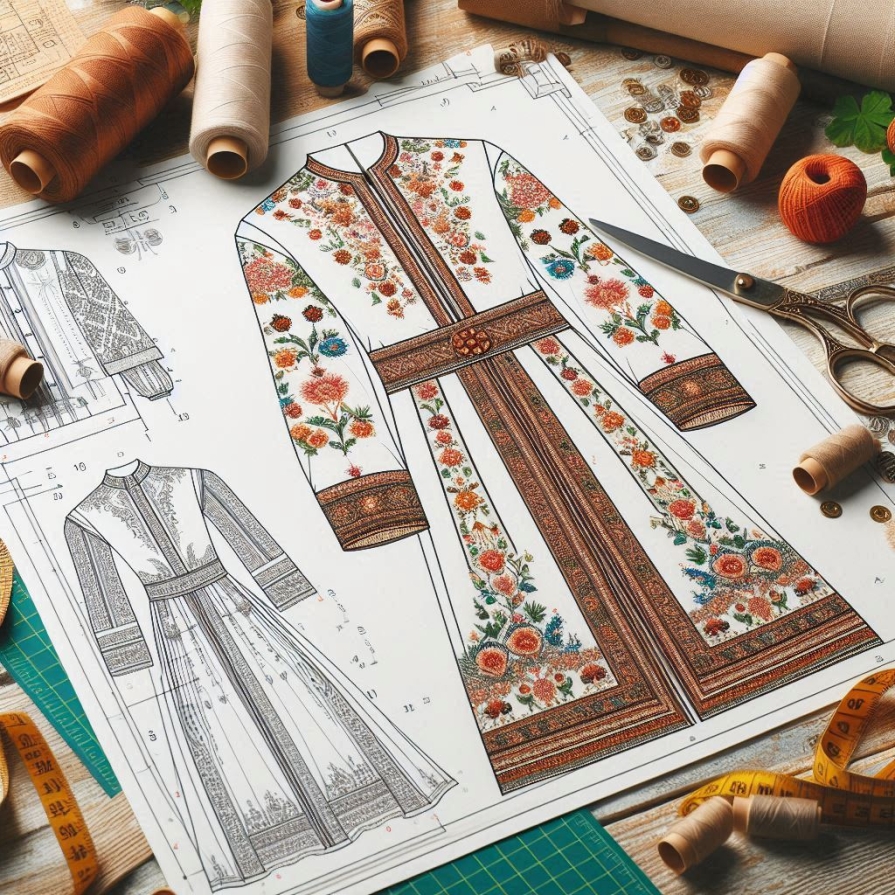
When you first unfold a sewing pattern, you might be overwhelmed by the array of lines, dots, and symbols. However, each of these markings plays a crucial role in constructing your garment.
One of the most important symbols is the grainline, a long, straight line with arrows at either end. This line ensures that your fabric is cut on the grain, which affects how the garment drapes and fits. It’s essential to align the grainline on the pattern piece with the grain of the fabric to achieve the intended look and fit.
The cutting line is another critical marking. It outlines the shape of each pattern piece and is usually printed for multiple sizes on a single sheet. It’s important to choose the correct line for your size before cutting. Seam lines, which are often shown as dashed lines, indicate where you’ll sew the fabric pieces together. These lines are set inside the cutting line to account for the seam allowance, the extra fabric needed to join the seams.
You’ll also encounter darts and notches on the pattern pieces. Darts are triangular shapes that help to shape the fabric to the body’s contours, creating a more fitted garment. Notches are small symbols along the cutting line that help you align pattern pieces correctly during construction, ensuring that seams and edges match up as they should.
Selecting the Correct Size
Choosing the correct size in a sewing pattern can be more complex than selecting a size off the rack. Sewing patterns are based on specific body measurements rather than generalized sizes like Small, Medium, or Large. This means that your pattern size might differ from the size you wear in ready-to-wear clothing.
To choose the correct pattern size, start by taking your body measurements. The most important measurements for most garments are the bust, waist, and hips. Compare your measurements with the size chart provided on the pattern envelope or instruction sheet. It’s not uncommon for your measurements to span multiple sizes; for instance, your bust might correspond to one size, while your hips correspond to another.
If your measurements fall between sizes, or if they vary significantly, you may need to blend sizes by grading between the lines on the pattern. For example, you might cut the bodice in one size and the hips in another. This blending helps achieve a custom fit that’s tailored to your unique body shape.
Making Pattern Adjustments
Even with careful size selection, you may need to adjust the pattern to ensure a perfect fit. Common adjustments include lengthening or shortening pattern pieces, adjusting the bust, and modifying the waist or hip areas.
Length adjustments are often necessary if you’re taller or shorter than the height for which the pattern is designed. Most patterns include lengthen/shorten lines, which indicate where to add or remove length. To adjust, simply cut along the line and spread the pattern pieces apart (to lengthen) or overlap them (to shorten), then tape them back together.
Bust adjustments are also common, especially if your bust measurement doesn’t align with your overall pattern size. A full bust adjustment (FBA) or small bust adjustment (SBA) can be made to increase or decrease the bust area without affecting the rest of the garment. This is typically done by altering the dart placement or adding additional fabric to accommodate the bust.
Adjusting the waist and hips might involve taking in or letting out seams to achieve the desired fit. This can be done by altering the side seams or darts, depending on where the extra fabric is needed. It’s always a good idea to make a muslin (a test garment) to check the fit before cutting into your final fabric.
Testing the Fit with a Muslin
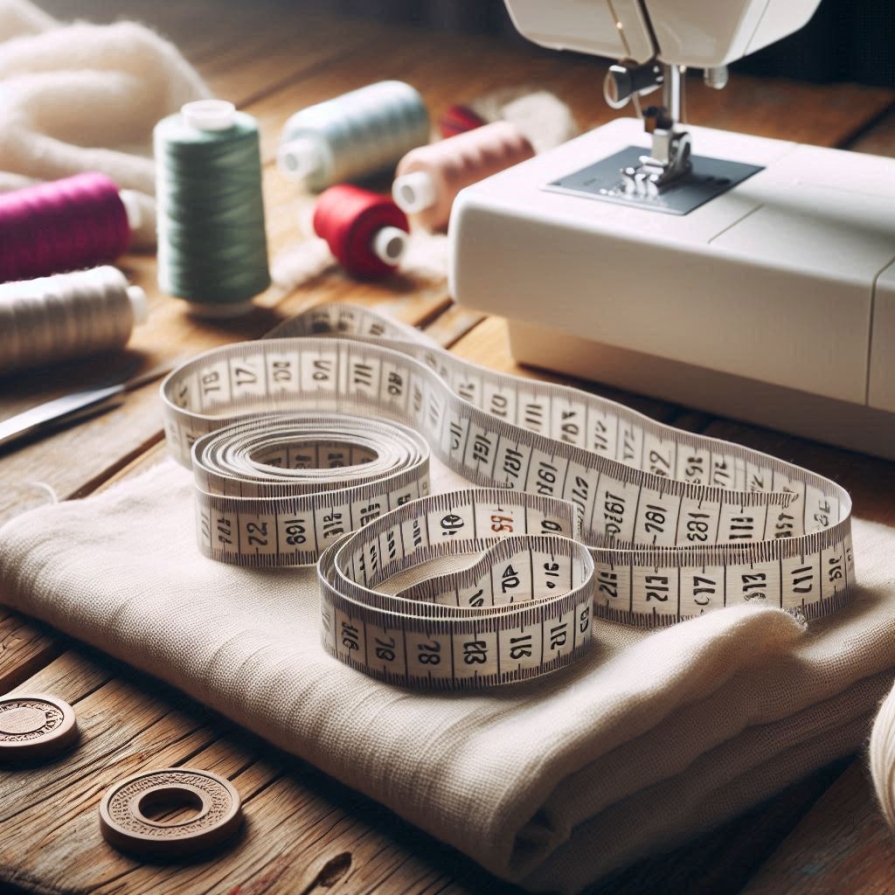
Before committing to your final fabric, it’s wise to test the fit of your adjusted pattern with a muslin. A muslin is a mock-up of your garment made from inexpensive fabric, often unbleached cotton or similar material. This allows you to see how the garment fits and falls on your body, and it provides an opportunity to make further adjustments without risking your final fabric.
When sewing the muslin, focus on the main construction elements and fitting areas—there’s no need to finish seams or add details like pockets unless they are critical to the fit. Try on the muslin and check for areas that need further adjustment. For instance, you might find that the shoulders need to be narrowed, the waist needs to be taken in, or the length needs to be shortened.
Finalizing Your Pattern
Once you’re satisfied with the fit of your muslin, transfer any changes you made back to the original pattern. This step is crucial for ensuring that your final garment reflects all the adjustments you’ve made. Carefully mark any alterations on the pattern pieces, such as new seam lines, dart placements, or length adjustments.
If you’ve made significant changes, you might consider tracing the adjusted pattern onto new paper to create a clean, updated version. This will make it easier to cut your fabric and sew your final garment without having to remember all the modifications you made during the fitting process.
Understanding and adjusting sewing patterns is a vital skill for any seamstress. By mastering the art of reading pattern symbols, choosing the correct size, and making necessary adjustments, you can create garments that fit beautifully and reflect your personal style. While the process may seem complex at first, with practice and patience, you’ll gain the confidence to tackle any pattern and make it your own. The result is a wardrobe of custom-made pieces that fit your body perfectly and showcase your sewing skills.

